




RV Tips & How-To
How to Winterize Your RV Before the Cold Hits
Learn how to winterize an RV the right way, covering plumbing, tires, batteries, and exterior care, plus a smarter alternative for California RV owners.
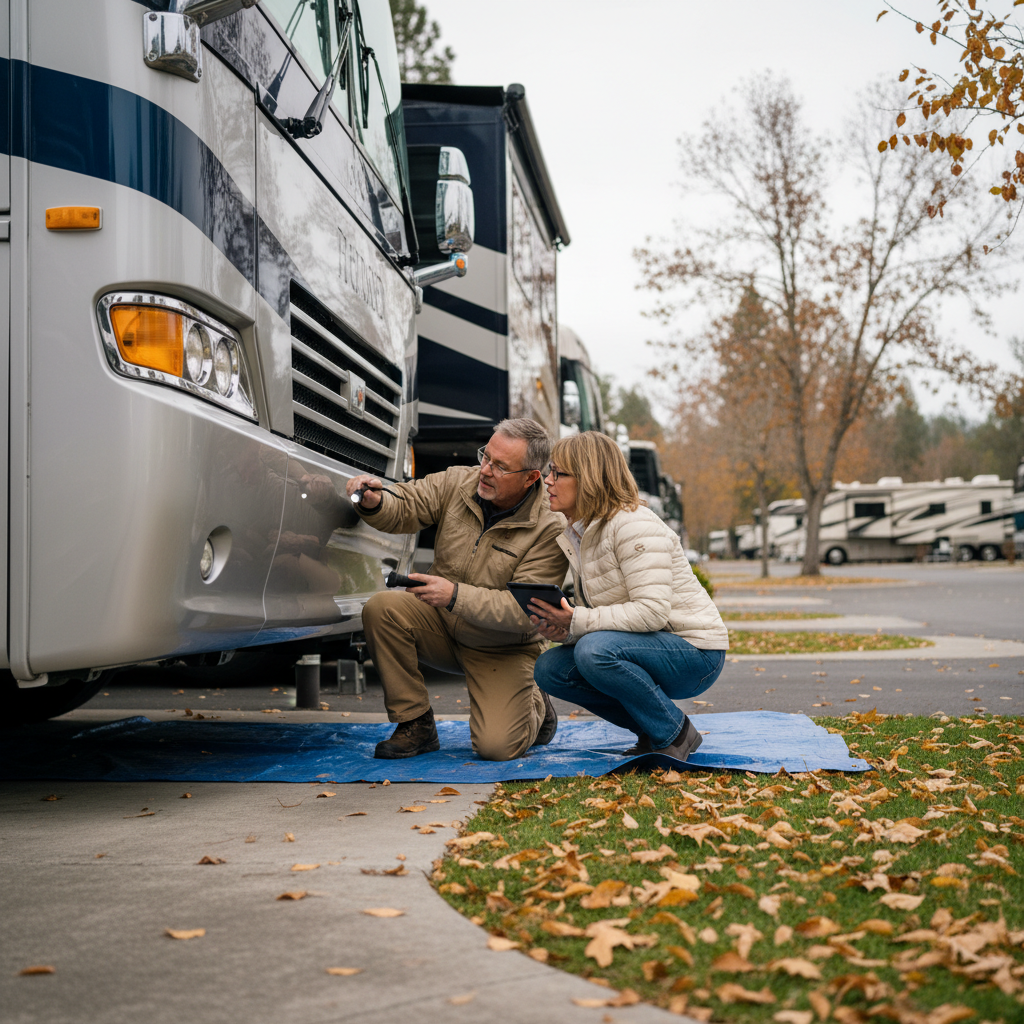
The air is starting to cool, the mornings feel a little crisper, and if you own an RV, you probably already know what that means: it is time to start thinking about winterizing. Whether you are parking your rig for the season or protecting it through a few cold months before your next trip, knowing how to winterize an RV properly can save you from costly repairs and headaches come spring. This guide walks you through the essentials, including plumbing, tires, batteries, and exterior care, so you can head into winter with confidence.
Why Winterizing Matters
Water expands when it freezes. That simple fact is responsible for cracked pipes, burst water heaters, damaged pumps, and split fittings that can run $500 to several thousand dollars to fix.
Beyond plumbing, cold temperatures affect tire compounds, battery performance, and seals throughout your rig. A few hours of prevention in the fall is almost always cheaper than the repair bill you are trying to avoid.
Step 1: Winterize Your RV Plumbing System
Your plumbing system is the most critical area to address when learning how to winterize an RV. There are two main approaches: blowing out the lines with compressed air, using RV-safe antifreeze, or a combination of both. Here is how to do it right.
- Drain the fresh water tank completely. Open every faucet, hot and cold, until water stops flowing.
- Bypass the water heater before adding antifreeze. Most RVs have a bypass valve for this. You do not want antifreeze sitting in a 6 or 10 gallon tank you will need to flush later.
- Drain the water heater separately. Turn off the heater, let it cool, then remove the drain plug and let it empty fully.
- Use a water pump converter kit or attach the intake line directly to a bottle of RV antifreeze (not automotive antifreeze, as it is toxic). Run the pump and open each faucet one at a time, including the sink, shower, and toilet, until you see pink antifreeze coming through.
- Do not forget the toilet and outdoor shower if your rig has one. Pour a small amount of antifreeze directly into the toilet bowl and the holding tank.
- Flush and sanitize the black and gray tanks if you have not already. Add antifreeze to both tanks to prevent valve freeze-up.
- Close all low-point drain valves and make sure everything is sealed tight.
If you prefer the air method, use a compressor set to no more than 50 PSI and blow out each line individually, working from the farthest point back toward the water inlet. Many RV technicians recommend combining both methods for complete peace of mind.
Step 2: Protect Your Tires
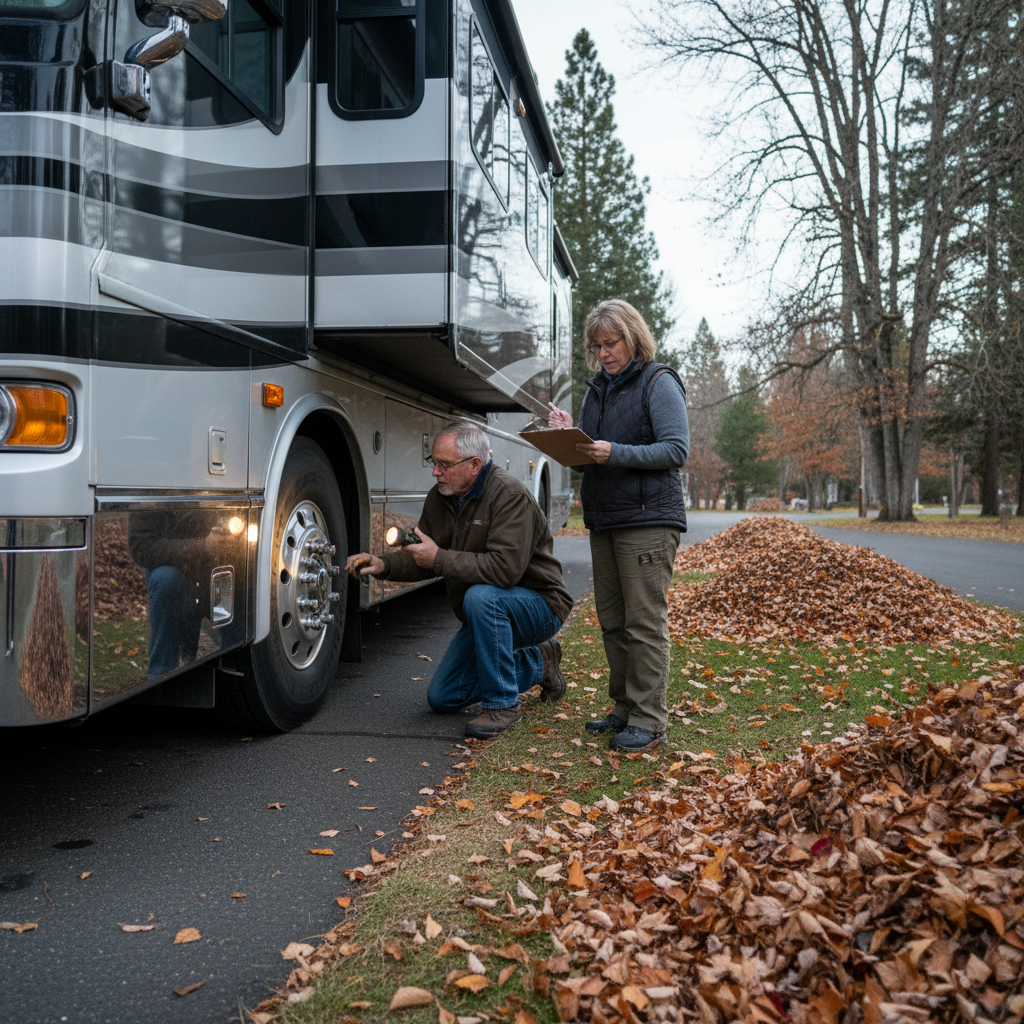
Tires are often overlooked during winterization, but cold storage can cause real damage if you are not careful. Sitting in one position for weeks causes flat spots, and exposure to UV and ozone speeds up rubber deterioration even when the rig is not moving.
A few simple steps now can extend tire life by years:
- Inflate tires to the maximum cold inflation pressure listed on the sidewall. Pressure drops as temperatures fall, so starting higher gives you a buffer.
- Use tire covers on all wheels to block UV and moisture.
- Place a piece of plywood or an interlocking mat under each tire to keep them off concrete or asphalt, which can leach oils from the rubber over time.
- Move the RV slightly every few weeks if it is in storage. Just a few inches is enough to prevent flat spots from setting in.
- Check tire age carefully. RV tires older than five to seven years should be inspected closely regardless of tread depth, because cold weather is harder on aged rubber.
Step 3: Care for Your Batteries
A neglected battery is one of the most common and most preventable winterization failures. Whether you have flooded lead-acid, AGM, or lithium batteries, cold temperatures and low charge levels are a bad combination that can permanently reduce capacity or destroy a battery entirely.
Lead-Acid and AGM Batteries
Fully charge all house and chassis batteries before storage. A discharged lead-acid battery can freeze solid at temperatures just below 32°F, while a fully charged one will not freeze until around negative 75°F.
Disconnect the batteries from the rig's electrical system to prevent parasitic drain from clocks, CO detectors, and other always-on circuits. Use a quality battery maintainer (not a trickle charger) to keep charge levels stable throughout winter without overcharging. Before storing, inspect battery terminals for corrosion and clean with a baking soda and water solution if needed.
Lithium Batteries
For lithium batteries, check the manufacturer's storage recommendations. Most lithium batteries prefer storage at around 50% charge rather than full, and they generally handle cold much better than lead-acid.
Step 4: Seal, Cover, and Inspect the Exterior
Before you close the door for the season, do a full walk-around inspection of your RV's exterior. Look for any cracked or shrinking caulk around slide-outs, windows, vents, and the roof. Cold temperatures make existing gaps worse, and winter moisture will follow any opening straight into your walls.
Reseal anything that looks questionable with a self-leveling lap sealant rated for RV use. Check that all roof vents are closed, and consider using vent covers that allow airflow without letting precipitation in. If your rig will sit exposed, a breathable RV cover adds another layer of protection. Just make sure it is breathable to prevent mold buildup underneath.
Step 5: Prepare the Interior
The interior of your RV needs attention before a long storage period, too. Pests, moisture, and odors are the three problems most likely to greet you in the spring if you skip this step.
- Remove all food items, including canned goods in colder climates, to avoid attracting rodents.
- Leave cabinet and overhead doors open to improve air circulation and prevent musty odors from developing.
- Place moisture absorbers or desiccant packs throughout the interior.
- Shut off the propane at the tank valve rather than just at the appliance.
- Leave window blinds closed to minimize UV exposure to interior fabrics and surfaces.
- Place dryer sheets or cedar blocks near entry points to discourage rodents from making your rig their winter home.
A Smarter Alternative: Skip the Winterization Entirely
Here is the truth that most winterization guides will not tell you: if your RV stays connected to utilities and stays warm, you do not need to winterize it at all. For California RV owners, especially those in the Central Valley, Bay Area, or Sierra Nevada foothills, winters are mild enough that staying put in a full-hookup resort is a genuinely comfortable, practical option.
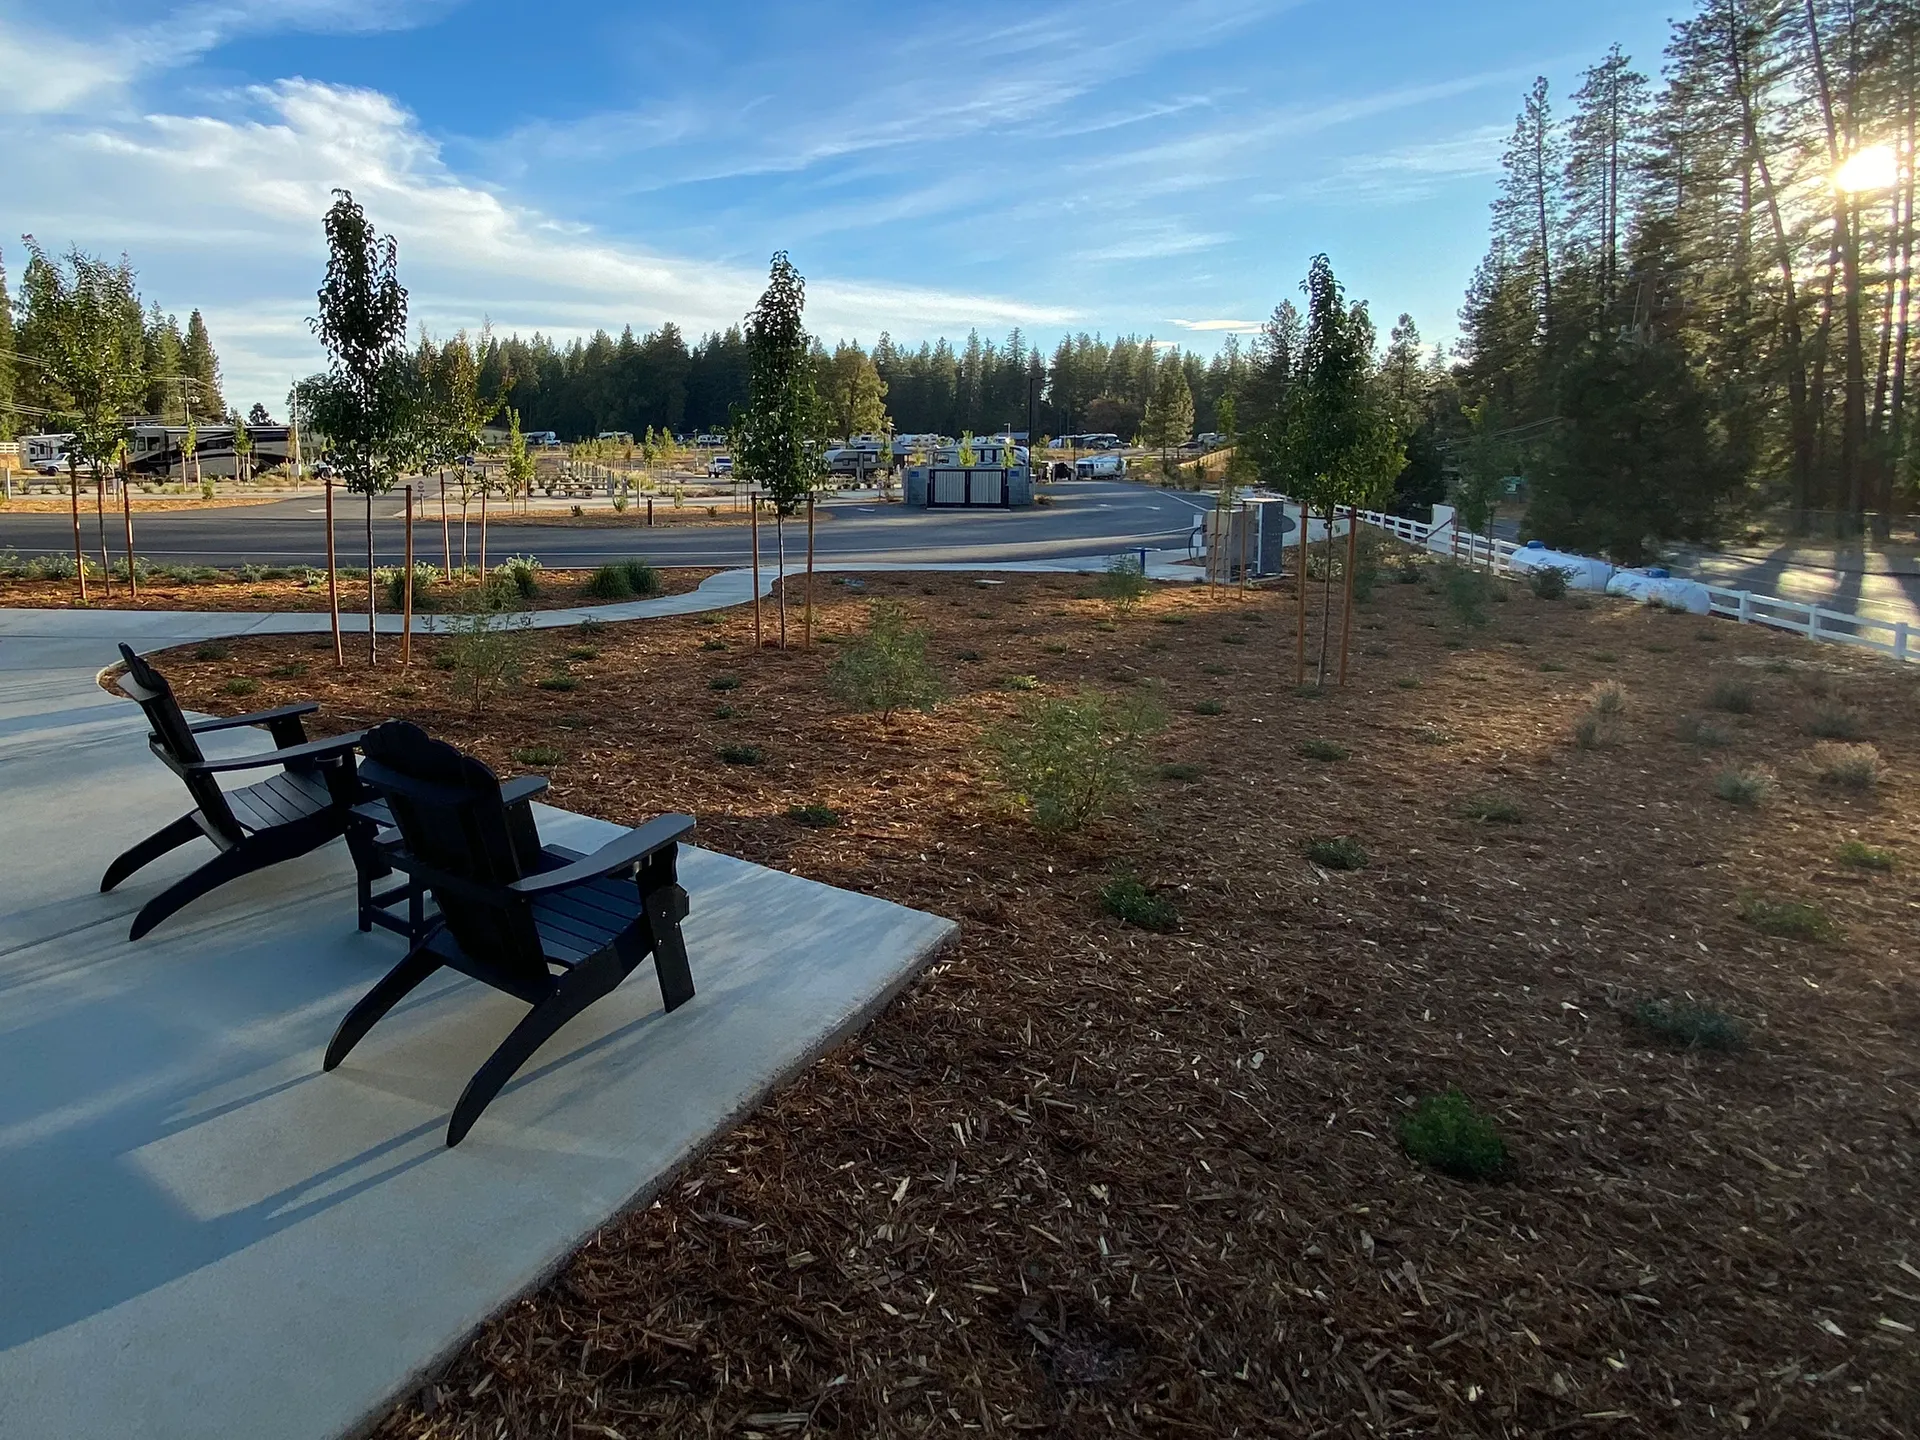
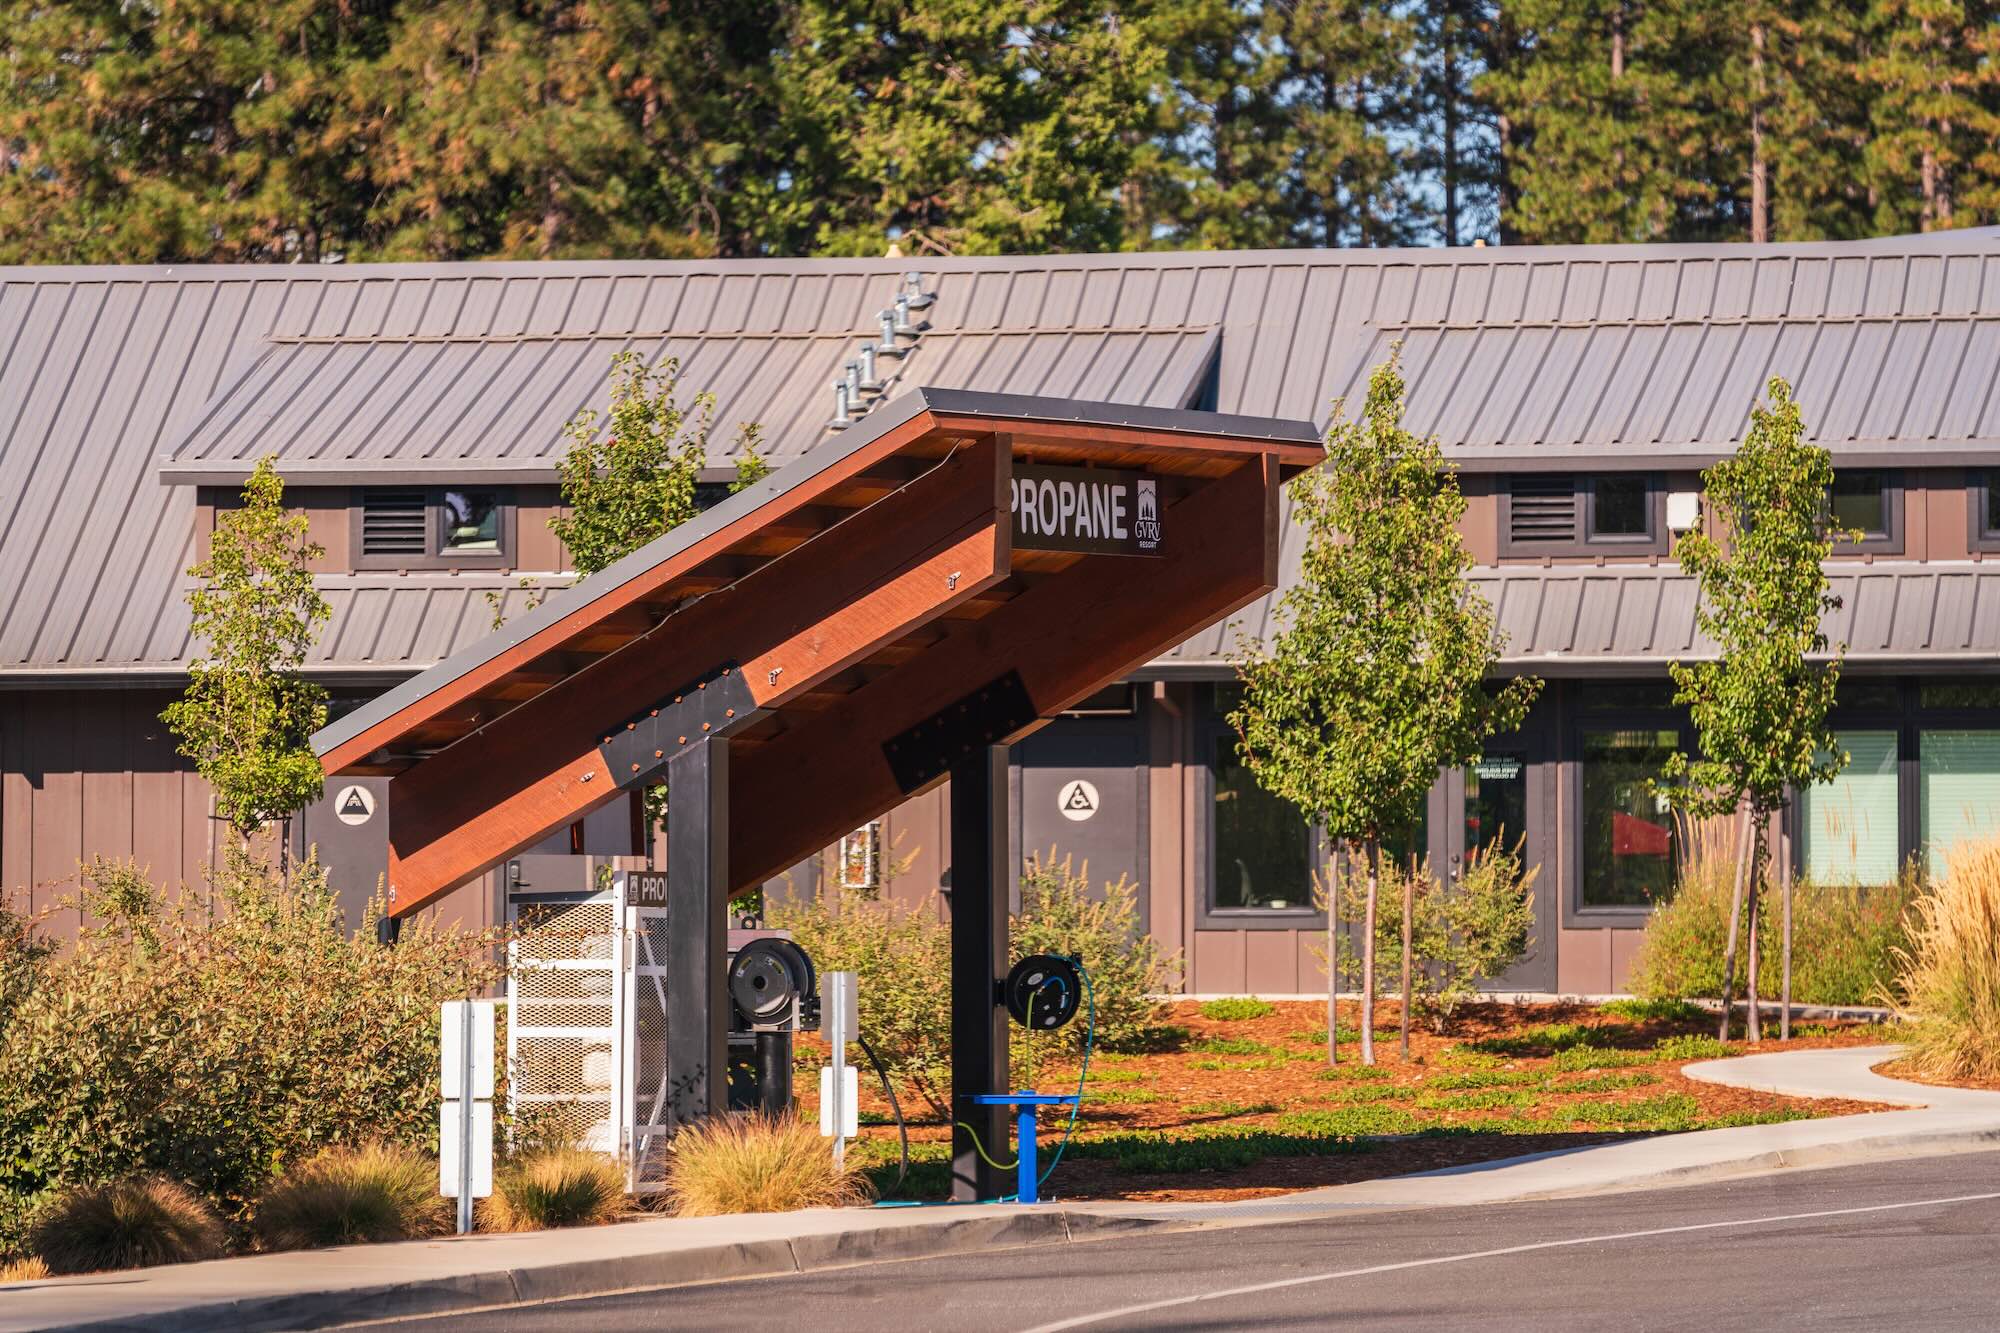
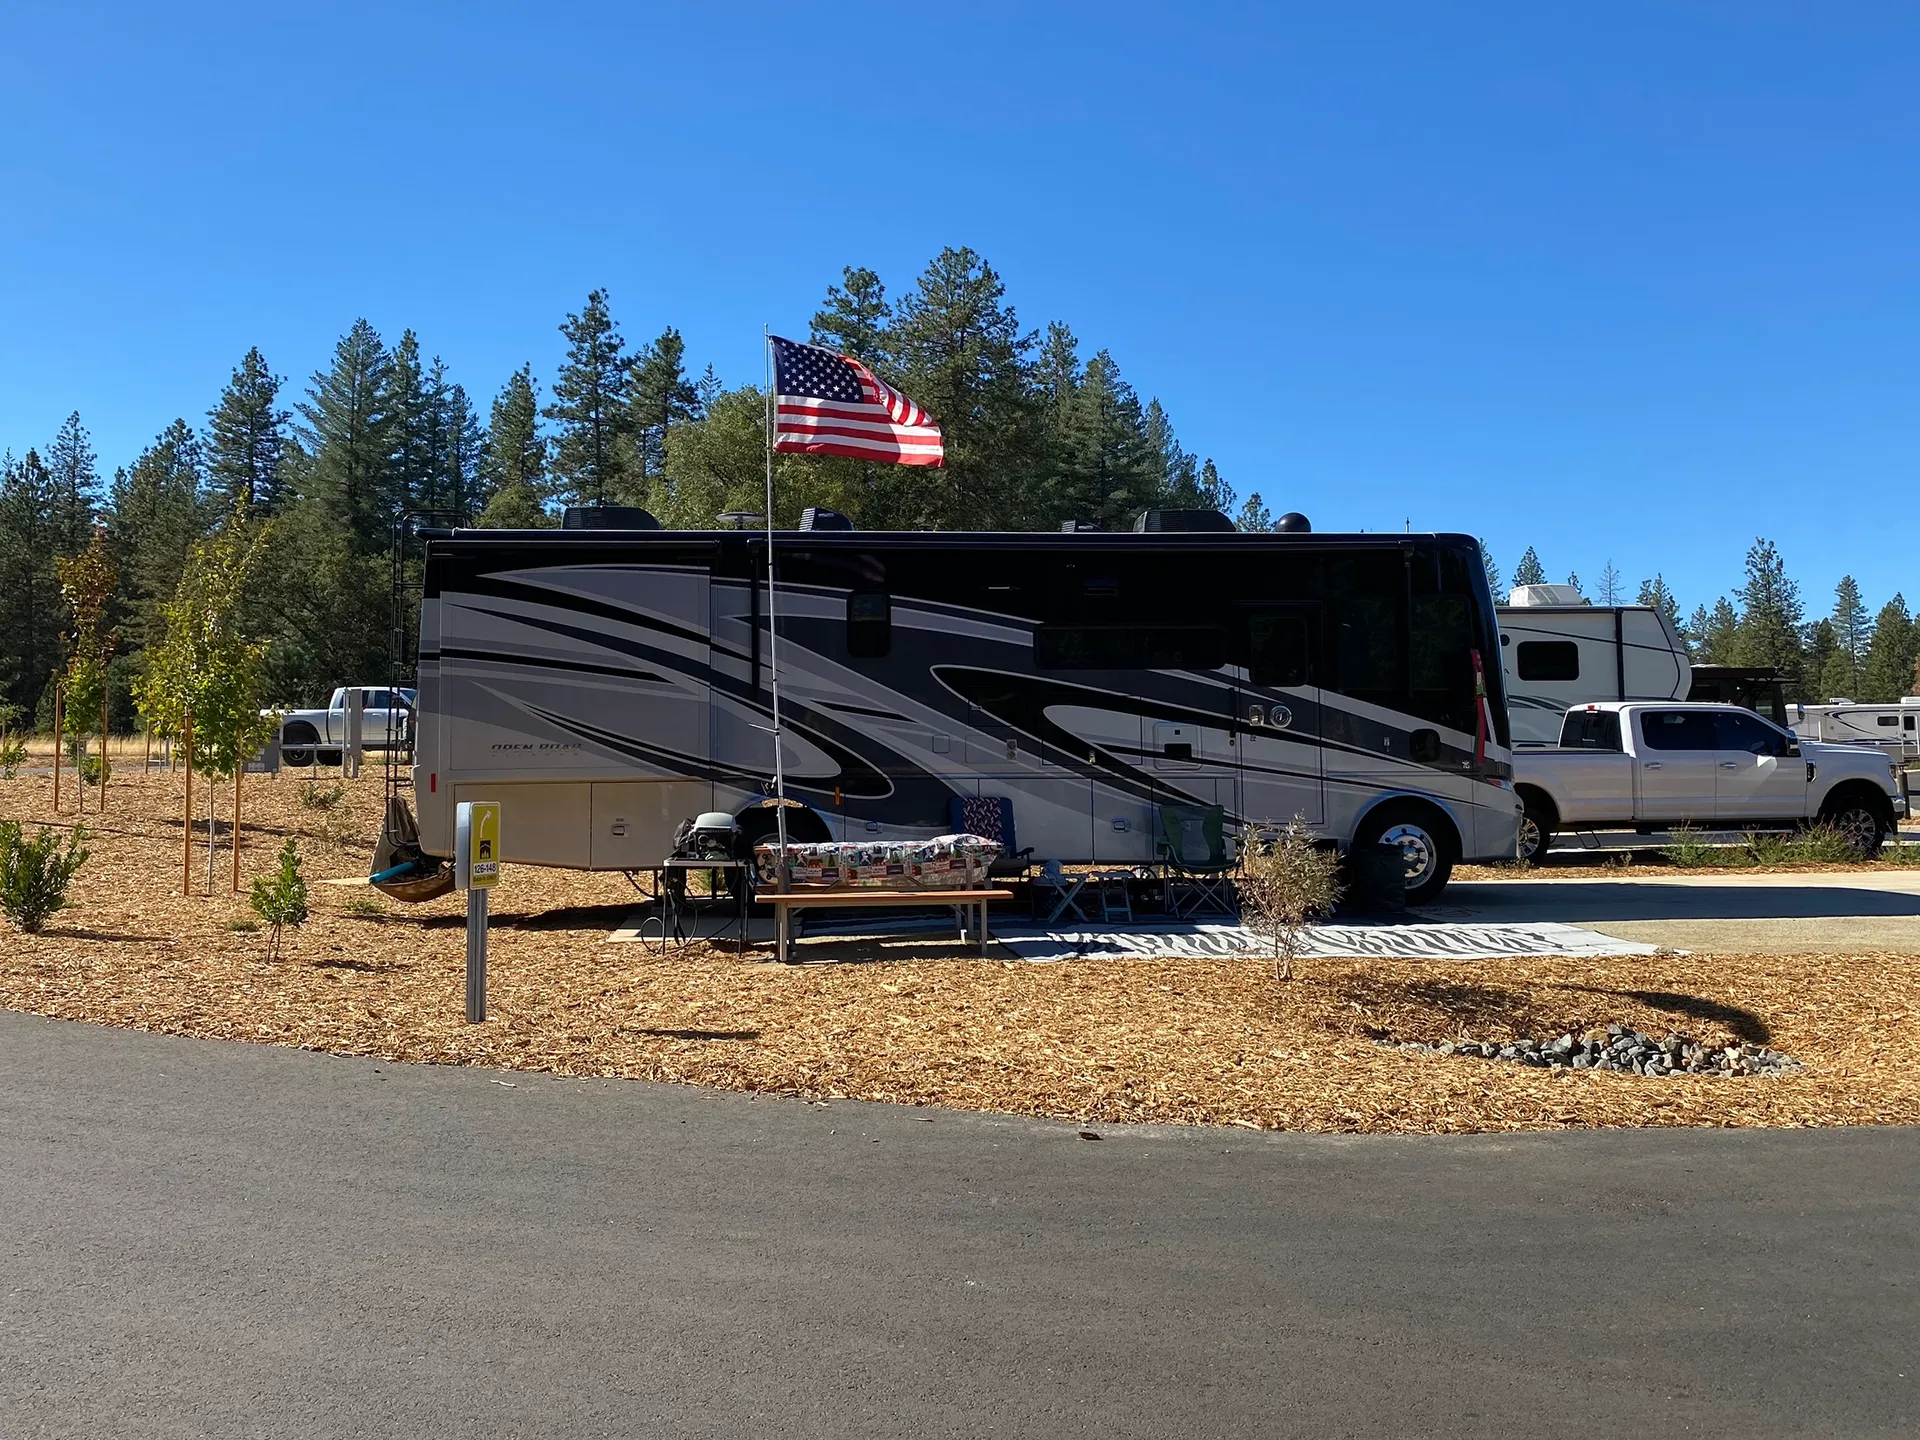
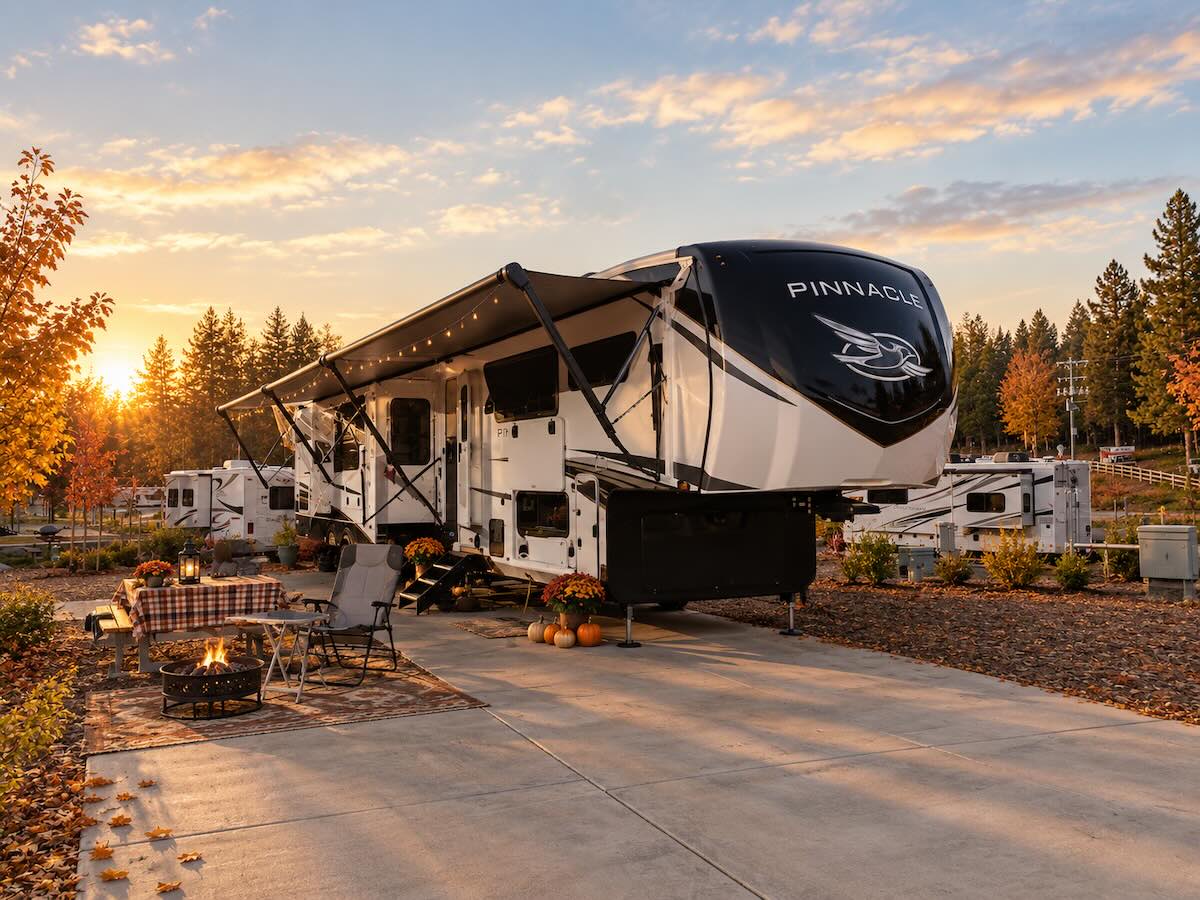
At Grass Valley RV Resort in the heart of Gold Country, long-term guests enjoy paved full-hookup sites with water, electric, and sewer connections year-round. The resort's heated showers and clubhouse facilities mean you are never roughing it, even on a cold January morning.
Staying connected means your rig stays warm, your pipes stay safe, and you are not draining and refilling your system every time you want to take a weekend trip. Grass Valley's mild but real winters give you a satisfying change of seasons without the deep freezes that make true winterization non-negotiable in northern states. You can read more about what makes the resort a year-round destination and why so many guests make it their home base.
It is a setup that works especially well for snowbirds, semi-retired RV owners, and anyone who wants to explore the surrounding area. Gold Country historic towns, Lake Tahoe, wineries, and hiking trails are all within easy reach from the resort, so you get the freedom of RV living without the hassle of packing up and storing the rig every fall. If you are curious about what a long-term stay looks like, the long-term stays page covers site options, amenities, and how to get started.
Frequently Asked Questions About Winterizing an RV
When should I winterize my RV?
Winterize your RV before overnight temperatures consistently drop to 32°F or below. In most of California's Sierra Nevada foothills, this typically means October through November, though the exact timing varies by elevation and year.
How much does it cost to winterize an RV?
DIY winterization costs very little, usually under $30 for a few bottles of RV antifreeze and basic supplies. Having a service center do it professionally typically runs $75 to $200 depending on the size of your rig and what is included.
Can I use regular antifreeze in my RV plumbing?
No. Never use automotive antifreeze in your RV's water system. It is toxic. Always use non-toxic RV or marine antifreeze, which is typically pink and labeled safe for potable water systems.
Do I need to winterize if I am in a mild climate like Northern California?
It depends on where you are storing the rig and whether it stays connected to utilities. If you are parked at a full-hookup resort and keeping the interior warm, you generally do not need to winterize. If the rig will sit unheated and unconnected during cold nights, some basic winterization is still a good idea.
How long does it take to de-winterize an RV in the spring?
Most de-winterization takes two to four hours. You will flush the antifreeze from the lines, sanitize the fresh water tank, reinstall any bypassed water heater connections, check tires and battery charge, and run through all your systems to confirm everything is working.